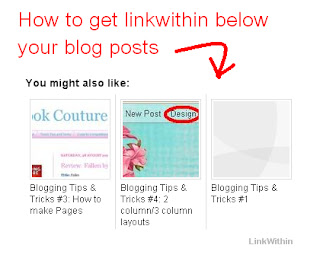
This tutorial will teach you how to get the widget LinkWithin below your blog posts.
Click on Get Widget:
Step 2:
Click on the Install Widget link, and a new tab will open up. Click on the blue button Add Widget.
Step 3:
Drag the LinkWithin gadget in the Edit Layout pages from the left toolbar to a space under your blog.
Step 4:
Click on SAVE and view your blog to see the changes you have made. Congratulations! You have now installed LinkWithin in your blog.
Step 1:
Go to Link Within. Enter in your email address, blog link, platform (Blogger), and width (3 stories is recommended). If you have light text on a dark background, check the textbox.Click on Get Widget:
Step 2:
Click on the Install Widget link, and a new tab will open up. Click on the blue button Add Widget.
Step 3:
Drag the LinkWithin gadget in the Edit Layout pages from the left toolbar to a space under your blog.
Step 4:
Click on SAVE and view your blog to see the changes you have made. Congratulations! You have now installed LinkWithin in your blog.
✂ - - - - - - - - - - - - - - - - - - - - - - - - - - - - - - - - - - - - - - - - - -
More Tips & Tricks from Tina:
- T&T 1: Links, Coding and Video Embedding
- T&T 2: How to get Symbols and Ascii Art
- T&T 3: How to make Pages and a Menu Bar
- T&T 4: How to make a 2 column/3 column layout
- T&T 5: How to change your blog icon (favicon)
- T&T 6: How to get LinkWithin beneath your posts
s


